
Installation
This section will help you install NebulaAuth in a few minutes.
💻 System requirements
- Windows 10 or 11, x64
- macOS on Apple Silicon or Intel
- Linux x64, with glibc of Ubuntu 22.04 or newer
Nothing else needs to be installed.
⬇️ Download
Go to the official GitHub repository and download the file for your system from the latest release:
| System | File |
|---|---|
| Windows | NebulaAuth-win-x64-Portable.zip |
| macOS, Apple Silicon (M1 and newer) | NebulaAuth-osx-arm64-Portable.zip |
| macOS, Intel | NebulaAuth-osx-x64-Portable.zip |
| Linux | NebulaAuth-linux-x64.AppImage |
The NebulaAuth.<version>.zip file in the release is not needed: it is used to update from version 1.x.
Warning
Download the application only from the official GitHub repository. Versions from third-party sources may be modified and pose a security risk to your accounts.
🪟 Windows
- Extract the archive to any folder you can write to, for example inside your user folder
- Run NebulaAuth.exe
On first launch, Windows may show the warning "Windows protected your PC". To continue:
- Click "More info"
- Click Run anyway
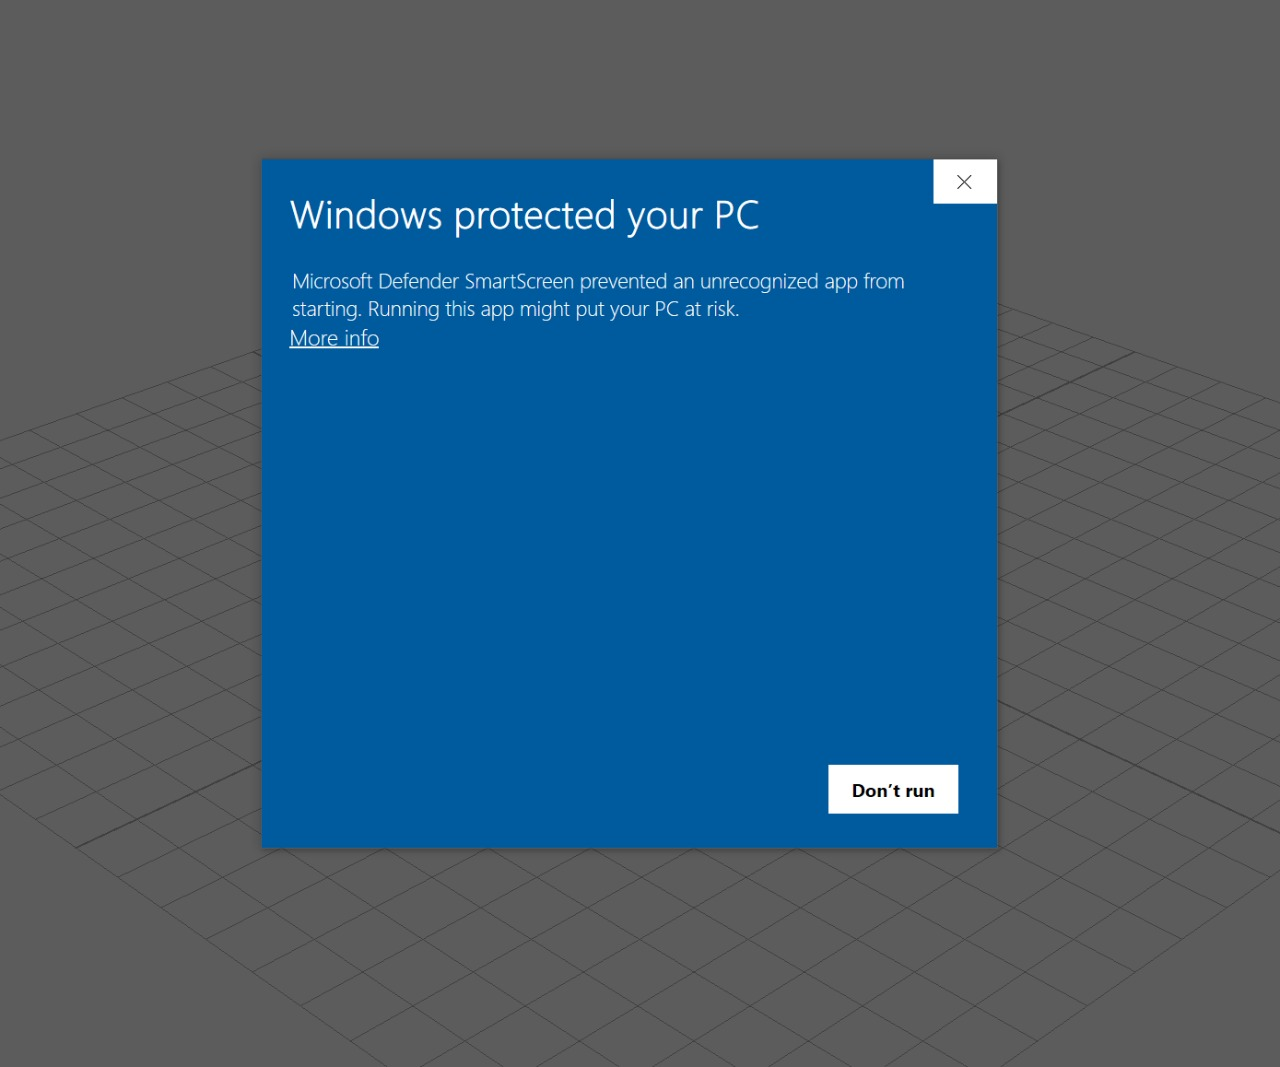
This is standard Windows behavior for applications without a digital signature. It does not mean the application contains malicious code.
🍎 macOS
- Extract the archive
- Move NebulaAuth.app to Applications or to any folder of your own. NebulaAuth does not start from the Downloads folder
- Run NebulaAuth
On first launch, macOS blocks the application from an unidentified developer. To allow it:
- Open System Settings → Privacy & Security
- Next to the message about NebulaAuth, click Open Anyway
- Confirm the launch
🐧 Linux
- Allow the file to run:
chmod +x NebulaAuth-linux-x64.AppImage - Run the AppImage
📁 Data folder
NebulaAuth keeps maFiles, settings and proxies in its data folder:
| System | Data folder |
|---|---|
| Windows | the folder with NebulaAuth.exe |
| macOS | ~/Library/Application Support/NebulaAuth |
| Linux | ~/.local/share/NebulaAuth |
Menu → Open folder opens the maFiles folder inside it.
On macOS and Linux, a folder named NebulaAuth Data next to the application makes the copy portable: NebulaAuth keeps its data there.
Two running copies of NebulaAuth cannot use the same data folder. To run several copies, give each one its own folder.
What's next?
Done. NebulaAuth is now installed and ready to use. In the next section, Adding accounts, you will learn how to add your Steam accounts and start working with them.